There are 6 options to upload data:
- Upload from computer
- Upload from CSV
- Upload from a previous project
- Upload from AWS S3
- Upload from Google Cloud Storage
- Upload from Microsoft Azure
Option 1: Upload from Computer
Select files from your computer to upload. For faster uploading, consider the other options that allow for async uploading. Please upload no more than 1000 files at one time.
Option 2: Upload from CSV
To upload from a local CSV file, you need to include either a column named "attachment_url" or a column named "text". "attachment_url" columns should be the data's publicly accessible remote urls.
"attachment_url"s will be used to fetch the data from that url for a website or file. For websites, the url will be displayed as a link for taskers to open.
The values in the "text" column can be used for raw text or markdown for text-based projects (API task type: textcollection). We recommend also adding some step-by-step instructions as part of the markdown. You can use our Task Interface Customization tool to help format and generate this column.
Another feature is that we support iframes as input in the "text" column. You can add an iframe to a native app that taskers use to interact with. You can additionally provide an optional "metadata" column to store extra data in JSON. If there are more than 200 assets in the upload, we will upload in the background.


Another feature is that we support iframes as input in the "text" column. You can add an iframe to a native app that taskers use to interact with.

CSV format for multiple text attachments

CSV format for multiple attachment URLs
Option 3: Upload from a Previous Project
Import data from a previous rapid project.
Option 4: Upload from AWS S3
Provide a S3 bucket and an optional prefix (folder path) and we will import the data directly. Note that you need to give us permission to do so. Check this document for instructions on setting up the permissions. You will need to grant permissions for 'GetObject' and 'ListBucket' actions. Additionally, AWS uploads are capped at 5,000 files.
We have also included instruction videos for setting up IAM delegated access.
Creating role and corresponding policy. You can see which values to input for the role on the Scale integrations page. You can also specify which resources to use with more granularity.
Assigning the read-only policy to the Scale integration role.

Be sure to update your account in the integration settings afterwards!
This is how a sample policy may look.
{
    "Version": "2012-10-17",
    "Statement": [
        {
            "Sid": "scales3access",
            "Action": [
                "s3:GetObject",
                "s3:ListBucket"
            ],
            "Effect": "Allow",
            "Resource": [
              "arn:aws:s3:::YOUR_BUCKET_NAME/*",
              "arn:aws:s3:::YOUR_BUCKET_NAME"
            ],
        }
    ]
}
Option 5: Upload from Google Cloud Storage
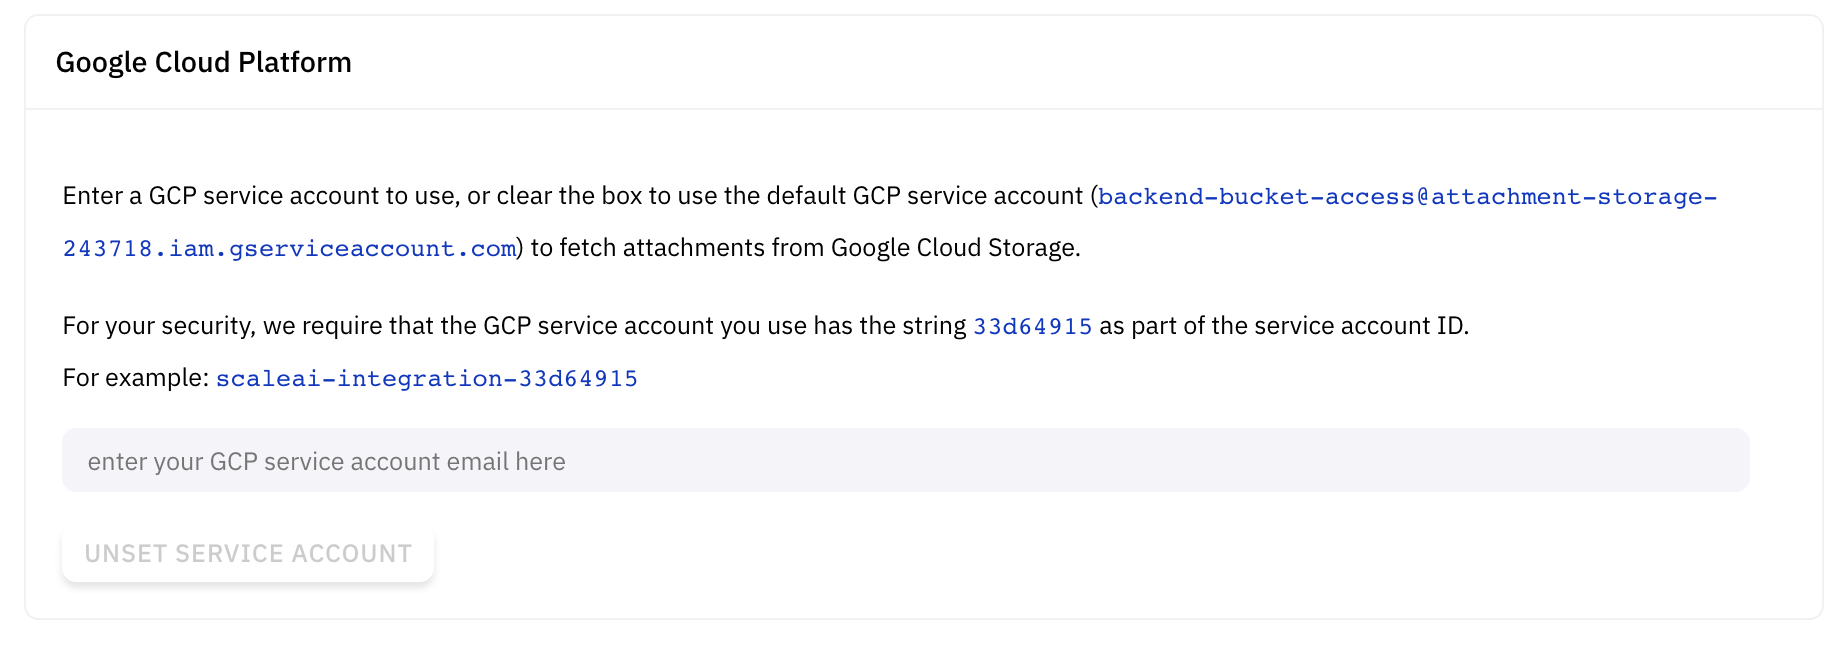
Provide a Google Cloud Storage bucket and an optional file prefix / delimiter and we will import the data directly. Note that you need to give us permission to do so. Check this document for instructions on setting up the permissions. You will need to setup permissions for Storage Legacy Bucket Reader or Storage Bucket Data Reader. Please ensure the bucket does not contain both files and folders.
We have also included instruction videos for setting up service account impersonation.
Adding a service account. Replace {uuid} with the value given to you on the Scale integrations page..
Adding bucket permissions for the service account.

Be sure to update your account in the integration settings afterwards!
Option 6: Upload from Microsoft Azure
Provide an Azure account name, container, and an optional prefix and we will import the data. Check this document for instructions on setting up the permissions. You may need to grant permission for Storage Blob Data Reader.